Total Pageviews

Showing posts with label house. Show all posts

Wednesday, 26 September 2012

Newly Painted mini's

Sorry about the delay in updating ye old blog, I seem to have not had any free time to do much in the way of painting but here's what I've finished over the last couple of weeks.
First up we have a 'Cleric Communing' from Grenadiers Dungeon and Dragons Specialist set:

It's a pretty old sculpt that was fairly pitted and undefined but I think the overall finish has come out alright.
I'm not 100% on the red reflected in the chest plate, I think it could do with toning down a little.

Next up we have another Citadel Barbarian:
I've given freehand tattoos/warpaint a shot which I think turned out OK especially on the face.
Looking at these pics though the savage moldline between his axe and right arm is really noticeable which is something that I will have to revisit.

Also this week I managed to finish off painting a house from Dr Willetts Workshop:
After seeing the review on Wargame news and terrain (http://wargameterrain.blogspot.be/2012/09/dr-willetts-workshop-nook.html) I decided to sink the perfectly reasonable sum of £10.99. I pretty much agree with everything he said so if you want a full review check out the link. I was a little hasty sticking mine together and didn't check to see if there was any warping of the parts so I had a little trouble getting the edge of one half of the roof to line up but it was easily sorted out with a little air drying Clay so not the models fault more mine for being overeager.

I've gone for a darker paint job than the one up on the Dr Willets site as it'll fit better with the rest of my scenery and other building. To get the dirty finish on the plasterwork I used my old white GW paint that seems to have started to coagulate and went on really lumpy and streaky. Once that was dry I slapped on some black ink which I smudged around with my finger before it was fully dry.


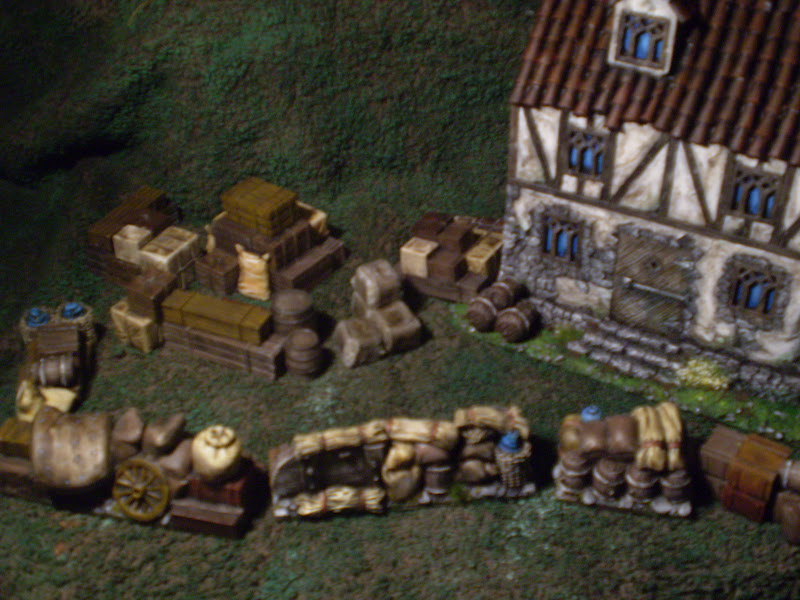
Also finished up the various barricades and crates: 


Thursday, 23 February 2012

I BUILT A HOUSE!!

Sorry to my 10 followers for the lack of updates recently boring stuff like work and a cold got in the way.

Anyway I got a bit distracted from painting figures and decided to make a building, I was partly inspired by all the great stuff I keep seeing on other peoples blogs and various forums. Before I go on have a quick look at some of the things these awesome people are doing and if you come away with no inspiration after looking at some of these links there's something wrong with you.

First up is Dampf's fantastic blog and his terrain articles on Baking Irons that includes some amazing step by steps on creating all kinds of terrain pieces.

http://dampfpanzerwagon.blogspot.com/search/label/Tutorial
http://www.barkingirons.co.uk/j/game-systems/flintloque/terrain

There's some amazing things going on in the boring Mordheim forum terrain section and it's worth a look even though some of the projects make me hugely jealous
http://boringmordheimforum.forumieren.com/f4-scenery-and-terrain

Again this is a Mordheim project that someone is putting together that looks amazing.
http://www.lead-adventure.de/index.php?topic=30667.0

Lastly this is the pinnacle of  model making some of the things on here are astounding, the sites in German but is pretty easy to navigate, check out the Mortheim table (second link) words cannot describe it's wondrousness.
http://gidian-gelaende.de/03c19899280940b01/03c19899c4139102b/03c198995a14eed01/index.php
http://gidian-gelaende.de/Material_HP/Wolfgang/Mortheim/album/index.html

Enough of other peoples stuff here's my second attempt at a house (the first being a wooden shack I built about 10 years ago):


Front shot with old citadel pre-slotta druid for scale, I wasn't sure if the door was too small as he looks a little too big with his base but without I think it's not to bad.
Tip on making tiles rather than cut out millions of individual tiles do it in strips like so:
Just make sure that you cut off the strips slightly wider than you want the tiles so that the next layer has something to stick to.
Once you've cut off your strips just trim off the ends (grey area) to make the tiles less uniform and there you are roof tiles.

Closer shot of the front door, I've since added a little more detail in the form a door handle and tweaked the hanging sign.
Ignore the power axe, the chimney is made from polystyrene coated in an air drying clay called DAS which I also used on the walls to give them some texture. I've since added a split log wood pile next to the chimney and will add an axe nearer to completion.
Here's the back garden with corrugated card garden plot. I'm going to add a lot more detail after I've painted the house (hanging herbs, barrels, plants etc) I've got my eye on some miniature plants for the plot of land.

Let me know what you think it needs for finishing touches and I'll see what I can do about incorporating them.

Cheers