Total Pageviews

Showing posts with label post apocalypse. Show all posts

Tuesday, 2 April 2013

Mini tank and payday loot

More post apocalyptic bits and pieces for you this week. As it was payday recently I decided to have a mooch around town and see what the retail gods would offer up for my painting table. First up I popped into TK Maxx and grabbed this from the toy section for £4.99:

It looked roughly the right scale for 28mm figures so I gave it a shot, once painted up should work really well as a terrain piece. Here are a few shots of the pieces and the with some mini's so you can see for yourself:


I also popped into Model Zone for quick look around and came out with a couple of airfix kits that were on sale, £1.99 for this little WWI tank

and £15.00 for this beast of a kit:

I think the Russian BMP should be easily apocalytic-iffied, it is a little on the large size (1:35 scale) but looking at the seating on the sprues they look about right for a 28mm arse.

As I've not put together any airfix kits for about 15 years I started with the WWI male tank and with a little tweaking ended up with a mini one man post apocalyptic flame tank. Most of the additions are Ramshackle games resin parts and a little extra plasticard.


Thursday, 28 March 2013

MORE POST APOCALYPTIC GOINGS ON

Hello everyone and welcome to my newest followers, finally breached the 100 mark hope you all enjoy what I'm spouting and I hope all of you who joined when things were old school citadel fantasy don't mind me drifting off into the post apocalypse again don't worry I will inevitably drift back to fantasy land at some point so please bear with me :-)

I realize that I've been lax in my blogging and my last update was nearly 3 weeks ago so this update may be a little on the large size and rambling.

I finished the Killdozer awhile back and made a little display board for any future PA mini's:


The Display board It's a £1 canvas frame from Poundland that I covered in Wilco's Flexible brown wood filer:
http://www.wilkinsonplus.com/fillers+sealants/wilko-wood-filler-flexible-ready-mix-brown-330g/invt/0158725
I'm sure there's a cheaper solution but it's just what I had to hand. I find using flexible fillers works better on terrain pieces as you get less chipping and with it being brown hopefully any damage over time won't be as noticeable.
When the filler was still wet to add texture I pressed in some small stones and a few bits and pieces of scrap. Once dry it was base coated black highlighted grey and then slapped with various rusty/chemically colours and the 'chemical puddles' gloss varnished. I'm debating whether or not to make a series of stackable boards like this that somehow clip together to form a small gaming board and when not in use stack neatly under my desk but that's a project for another time.

The next vehicle that will be rustied up is this beast:
http://www.amazon.co.uk/Bob-The-Builder-Rubble-Playset/dp/B008I20AT8/ref=sr_1_9?s=kids&ie=UTF8&qid=1364394298&sr=1-9

A Bob the builder truck that now I've removed the grinning face and googly eyes should paint up pretty well as a post apocalyptic vehicle. It's a little on the large size but as you can see in the pic below they do exist.


I'm not 100% sure whether or not to have it as a static terrain piece and build a series of shanty shacks on the back or leave it mobile and add a series of gun towers to the back?

Also in other supply drop news I put an order in with Pig Iron Productions:
http://www.pig-iron-productions.com
My order came in super fast time and I can highly recommend their customer service!
Here's the painted up mini's

A mix from the Kolony Feral HQ set and the Kolony Feral Infantry Set, I'm missing the leader from the HQ set as I managed to snap off his banner pole and I don't have the means to reattach it at the mo.

Here's the Kolony Feral Blades.
I also have a set of the Kolony Rebels and a ton of spare heads ready for some converting.


Lastly for the painted stuff this week I have some rezolution Dravani Shamblers that I picked up on ebay:
http://www.ebay.co.uk/itm/Rezolution-28mm-Sci-Fi-Blister-Packs-APAC-Dravani-/190780417047?pt=UK_Toys_Wargames_RL&var=&hash=item2c6b662417
I'm using these guys as a sort of Toxic zombie in my post apoc setting.

As you can probably see in the images above I threw together a little bit of post apocalyptic terrain in the form a mini bunker made from a piece of packing foam.


Here's a few more arty shots of the new mini's and the bunker:


Cheers for looking!

Monday, 4 March 2013

Nearly finished first Wasteland vehicle


Nearly finishing painting up this beast:


It still needs a little more work on the details and the tires need messing up but otherwise it's mostly finished.
As I was paid at the weekend I blitzed the town for some supplies for the next round of vehicles and came back with all of this:


The Humvee looking vehicle and the tractor were both from the poundshop along with both rolls of the silver wire (2 rolls for £1).
Another discovery that I made in my local Wilco's is picture hanging wire (the small brass loops next to the tractor) looks almost perfect for 28mm rope, it's made of multiple really thin pieces of wire already pre-coiled into an almost perfect rope effect, I love little discoveries like this.
Also over the weekend I popped into Pets at Home to nab some aquarium plants to carpet my post apocalypse.


I'm trying avoid green for any foliage as I imagine my post apocalypse to be set on a nuclear wintered planet covered in chemical deserts and ash wastes and any plant life has evolved or changed to extract chemicals from the soil or air hence the crazy colours.
Also that means that any objective markers or mission's can be based on capturing green oasis's or lone green plants etc, also the brightly coloured plants should contrast really well against a grey terrain board covered in rusting detritus. I'm debating whether or not to add some 'land coral' like this sort of stuff, mutated giant coral that's moved inland as much of the seas have dried up.


I've already separated and based up a couple of plants on washers, they still need their bases finishing:


Yesterday was also the annual Abingdon Wargames Club show Overlord which I managed to pop into for a flying visit and pick up these guys along with some plasticard and another bag of Dice.


All of the blisters came from the Ainsty stand, I've no idea why I need two Yeti's and some bat faced bare breasted 'harpies' but I'm a sucker for monsters in mini form. I also purchased a couple of packs of  Gorka-Morka Digga's as they'd work perfectly as crew for any post apocalypse vehicles. Lastly I bought a pack of 28mm scale goats... I don't know why, I'll add them to the bag in the lead pile that includes other various 28mm livestock.

Finally to finish here's a picture of Gilbert partaking in the universal cat-joy of sitting in an unattended shopping bag:


Friday, 1 March 2013

Yet another project started! Wastelanders Advance!

I've started yet another project, I think I have hobby based ADHD.

This all started after the Ramshackle games kickstarter caught my attention:
http://www.kickstarter.com/projects/179741323/nuclear-renaissance-the-tome-of-tridlins
This led to an evening pursuing Ramshackle Curtis's awesome terrain and vehicles and eventually led to me backing the £34 rules/vehicles package and also means I will probably be putting through an order when I get paid too. Check out Ramshackles awesome stuff on their website, I love the dirty but colourful apocalypse that Ramshackle games are building and the characterful mini's and vehicles that he puts out.
http://www.ramshacklegames.co.uk/nuclear/index.html

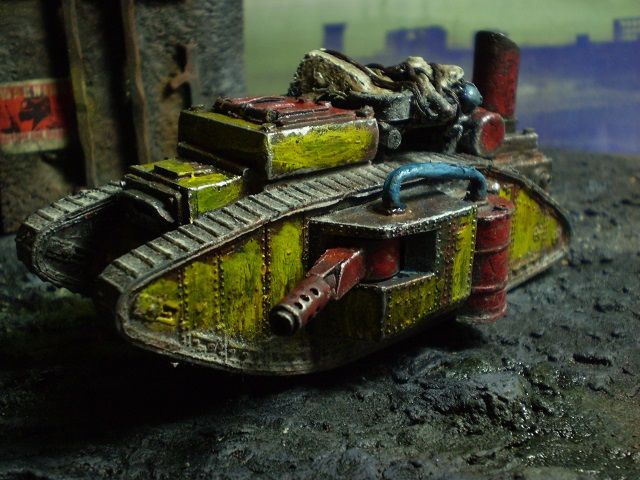
I thought I'd get an early start on some vehicle construction for the upcoming post apocalypse.
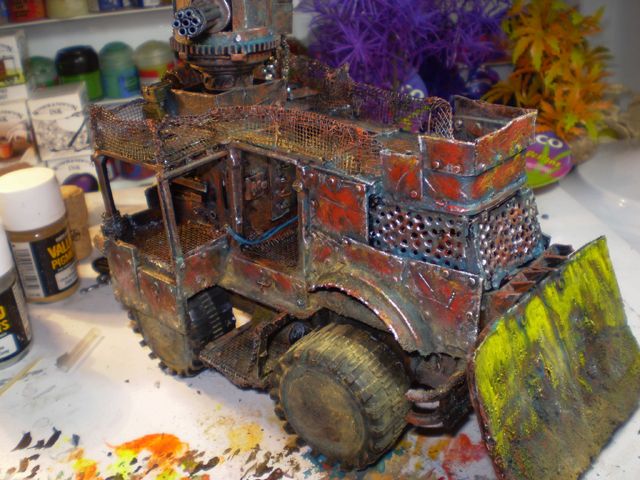
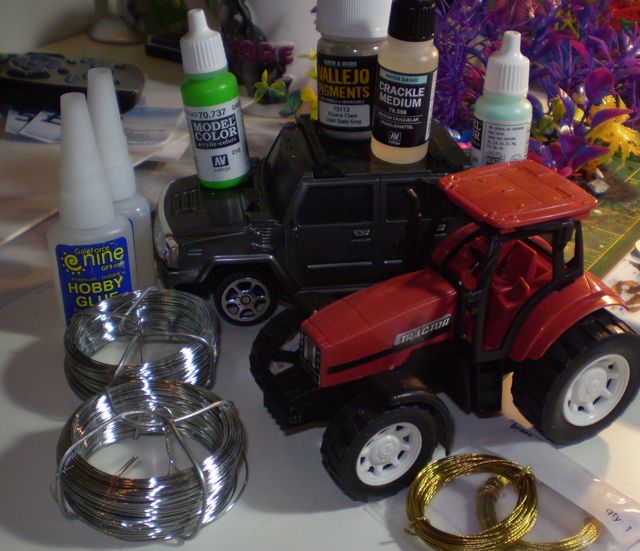
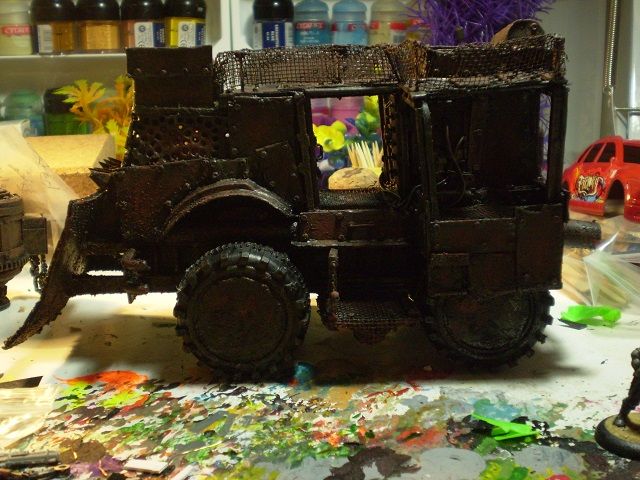
The current vehicle is based on the chassis of a 0.99p shop car and tractor, a ton of plasticard, printer parts and pretty much all of my super glue :-)

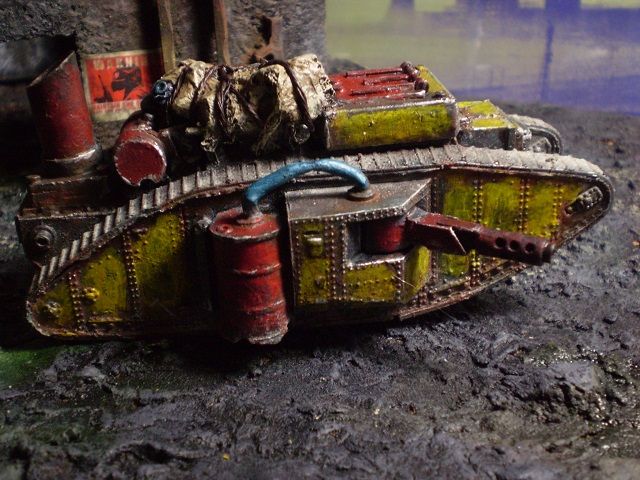
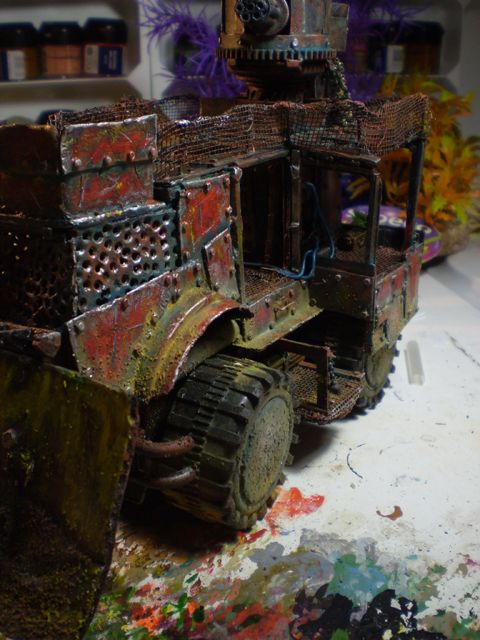
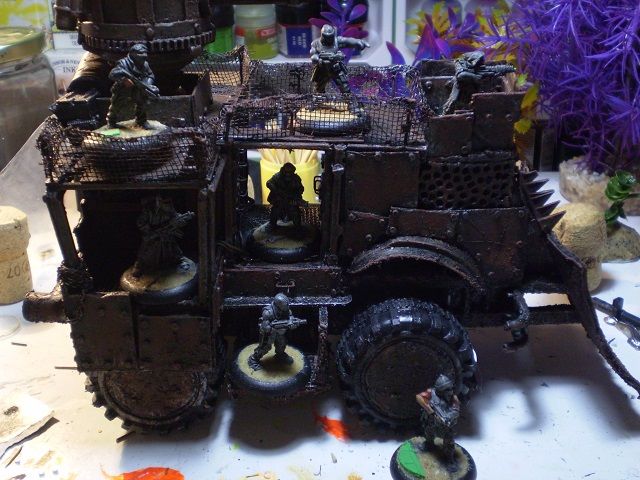
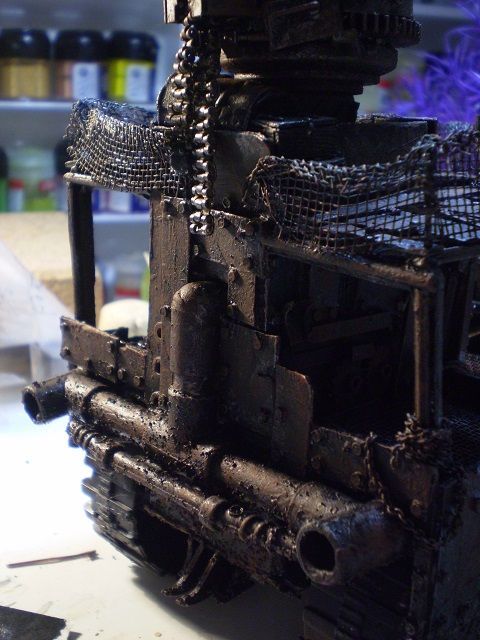
So far I've only added the base coat of silver and various browns:


I intend to add some chipped color over the rusty base and add some verdigris and even more weathering to jazz it up and make it less brown and give it some more character

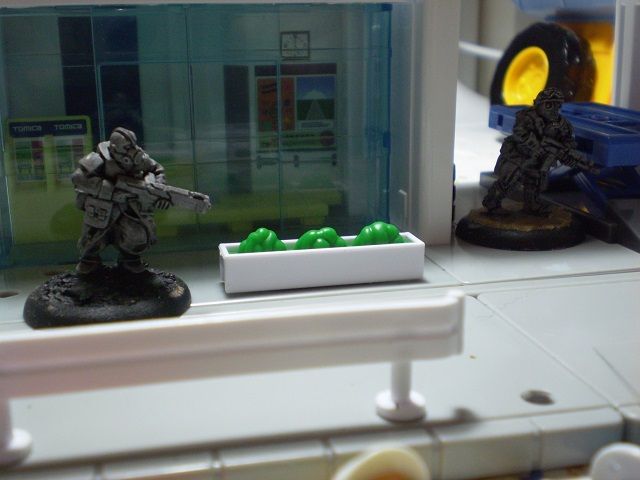
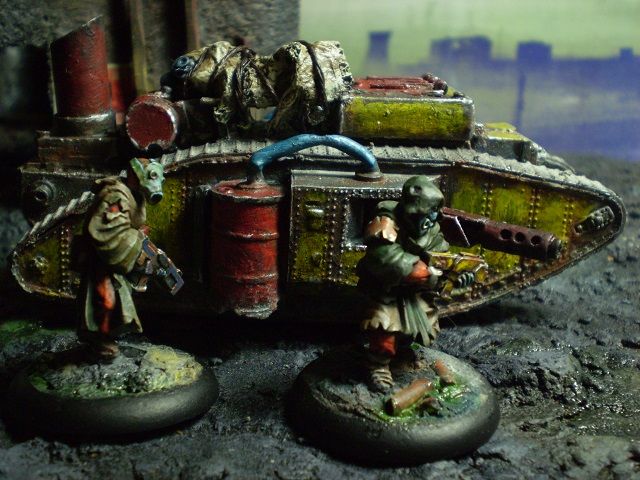
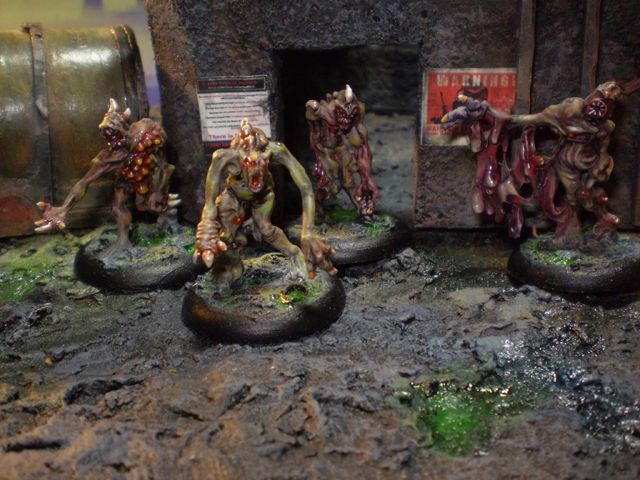
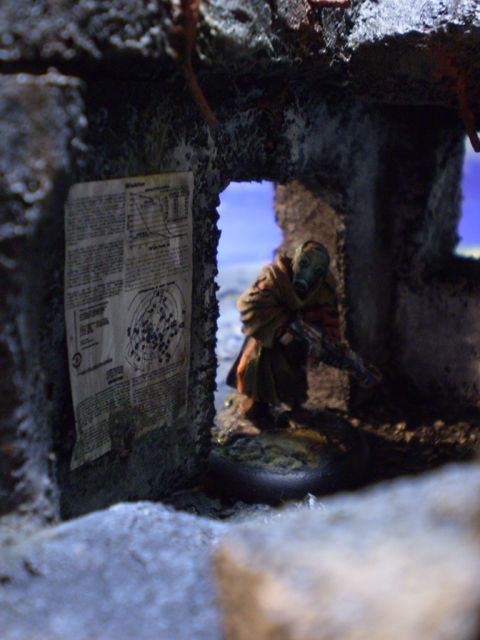
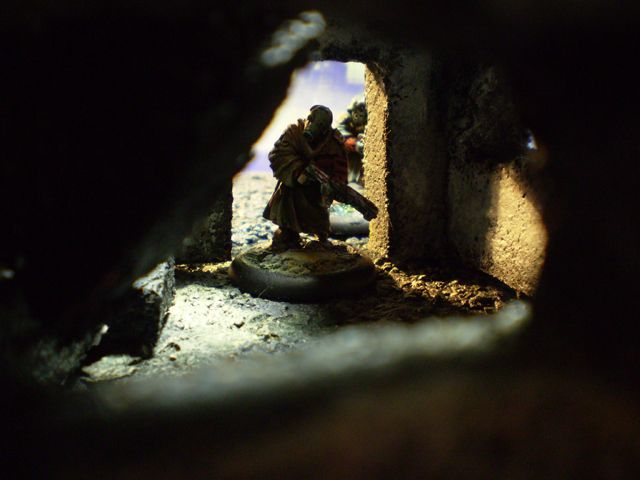
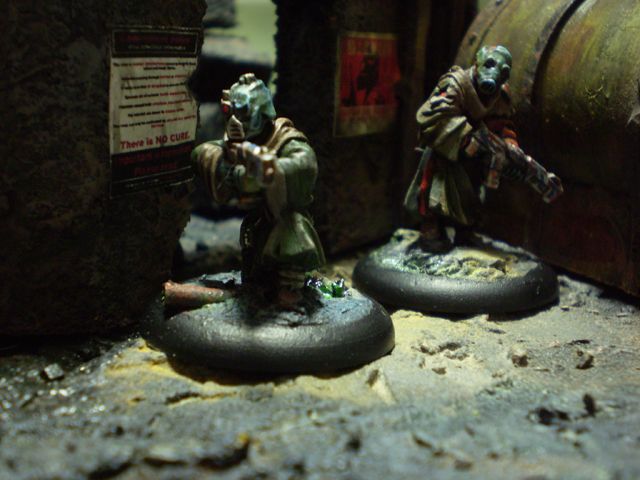
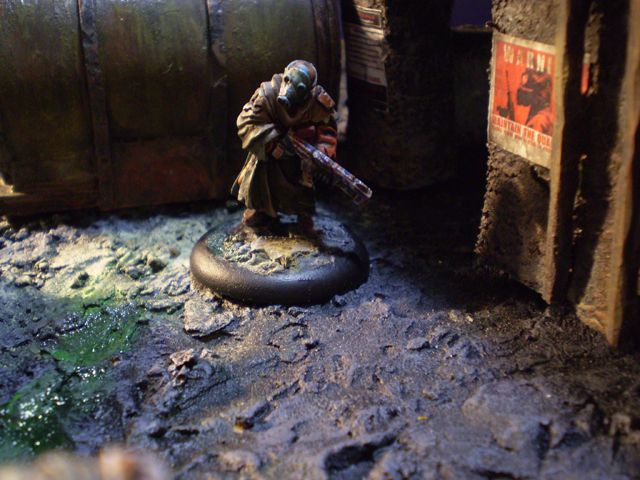
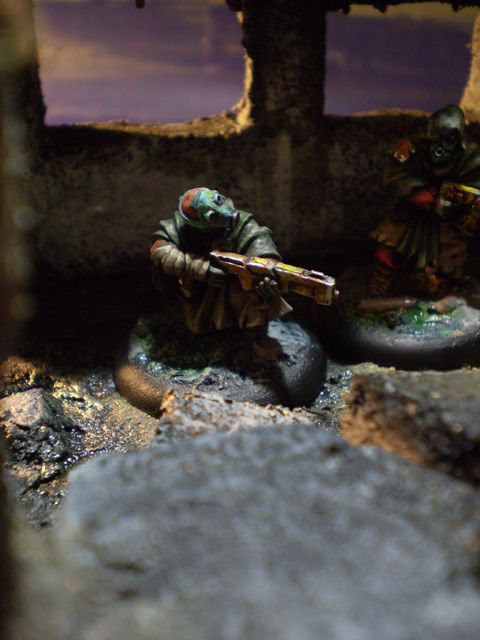
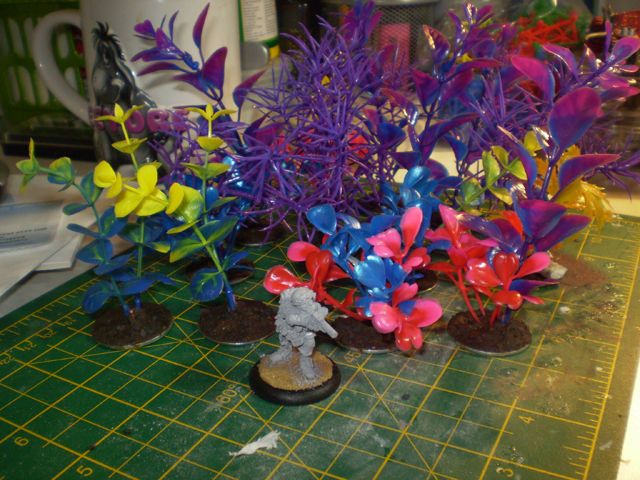
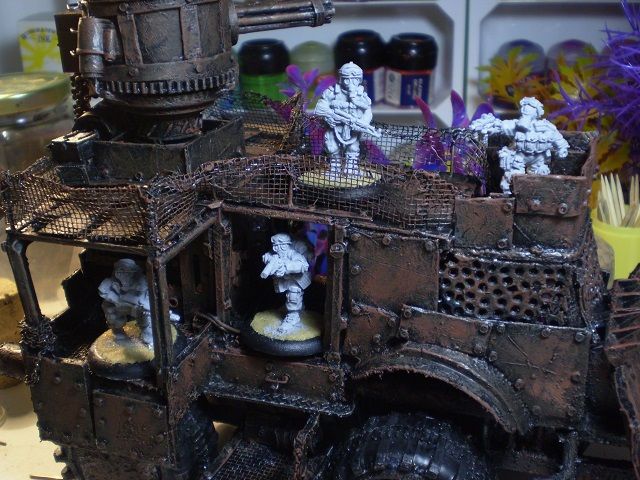
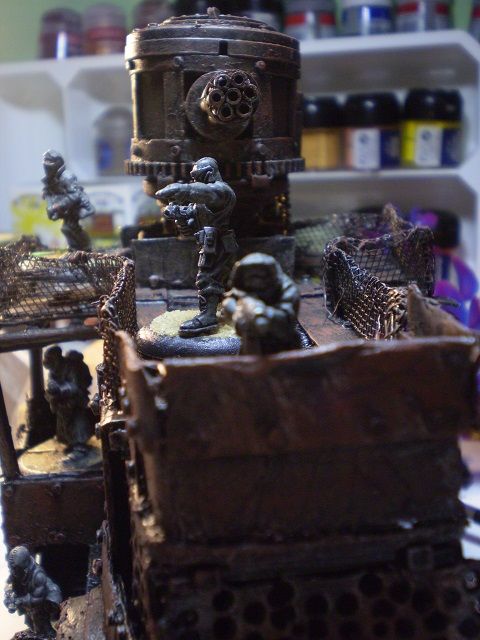
Here's a couple of shots with Mini's so you can get an idea of the size.


The turret on the back is made from plastic card and watch parts and has a magnetic washer on the base so it can be removed. The magnet I used was salvaged from an old pair of headphones and is built into the roof of the truck so hopefully I can build different attachments in the future.

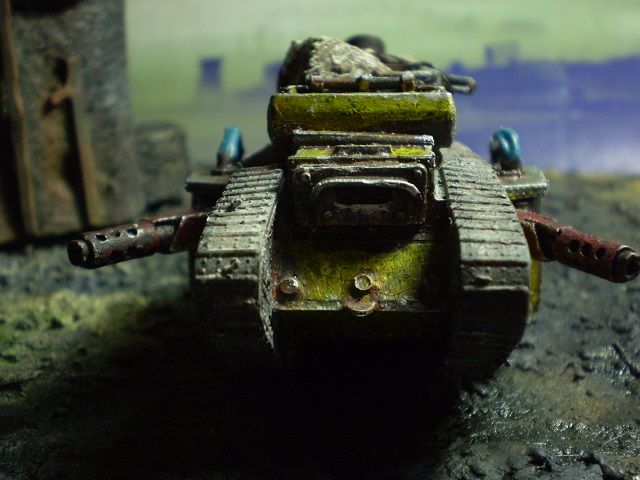
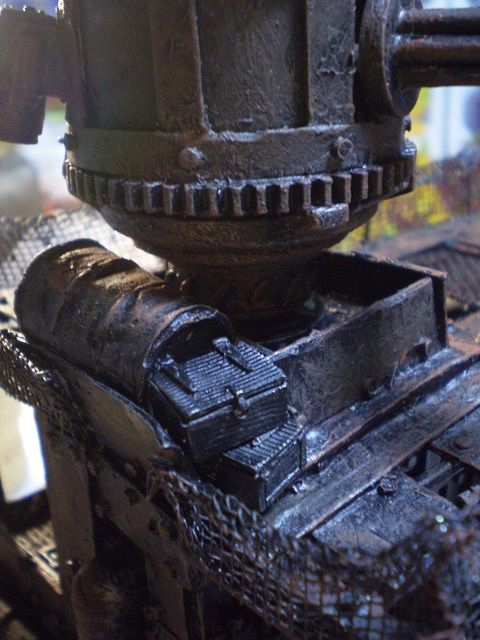
The mini-gun barrel is made up from the ink barrels from some Biro's cut into sections

The Ammo feed is  made from a small piece taken from a circuit board and an old metal watch strap.


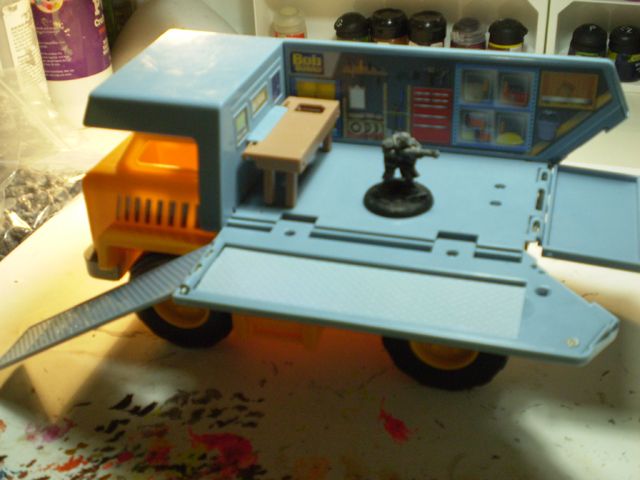
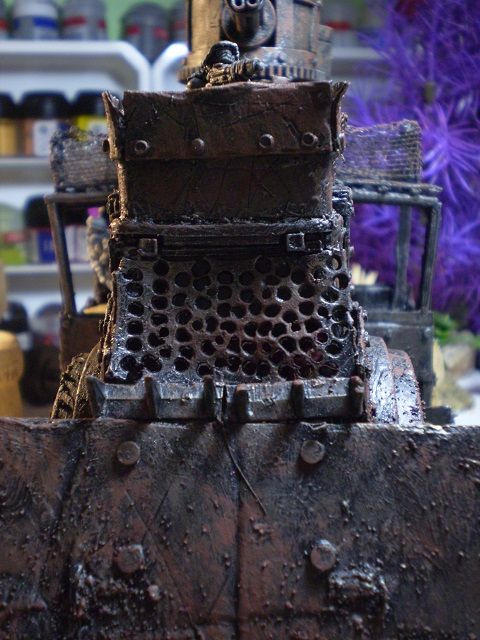
One amazing thing that I discovered was that the bearing in an old PC fan with the blades removed was a perfect fit for the underside of the turret so it can be fully rotatable, you can see what I mean in the image below:


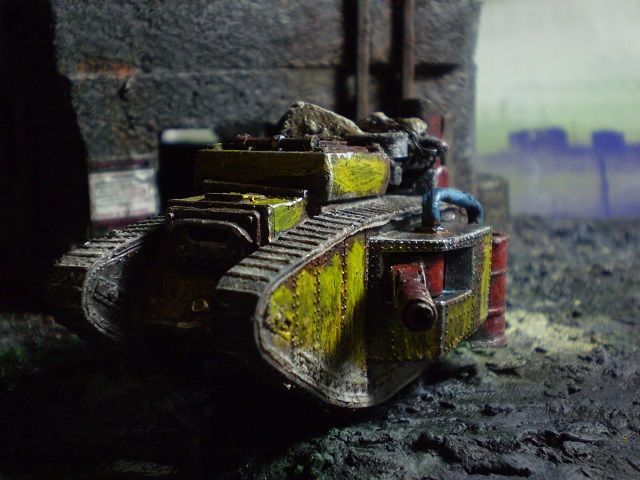
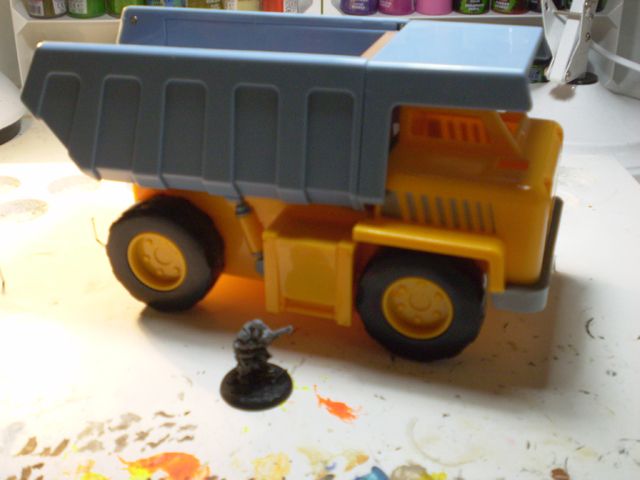
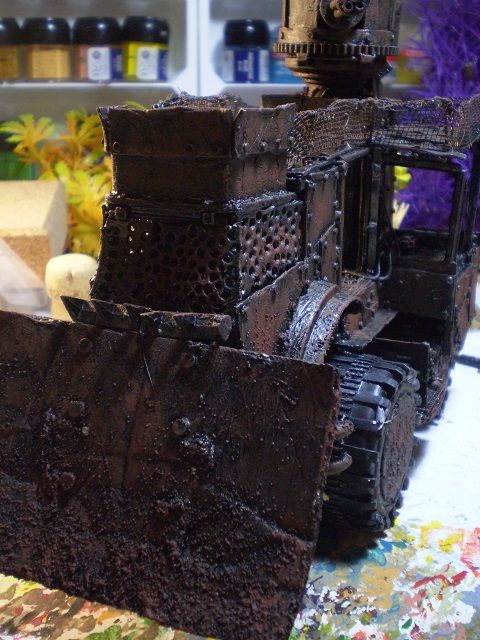
Here's a few more shots of the truck:


The heavily rusted sections on the truck like on the bottom of the dozer blade were achieved by mixing bird sand from the pet section of Wilco's with black craft paint at the undercoating stage. 

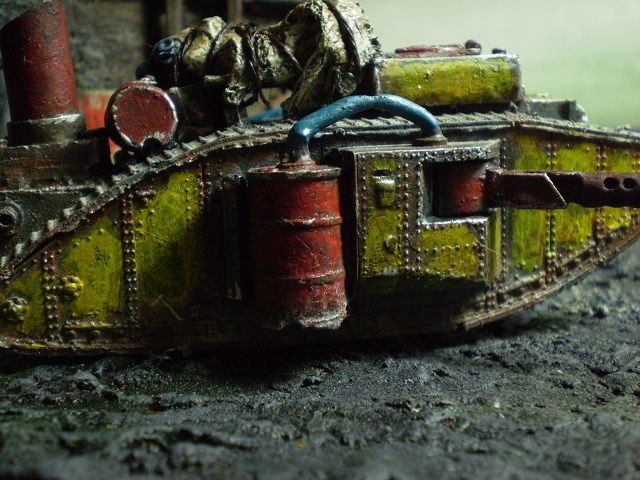
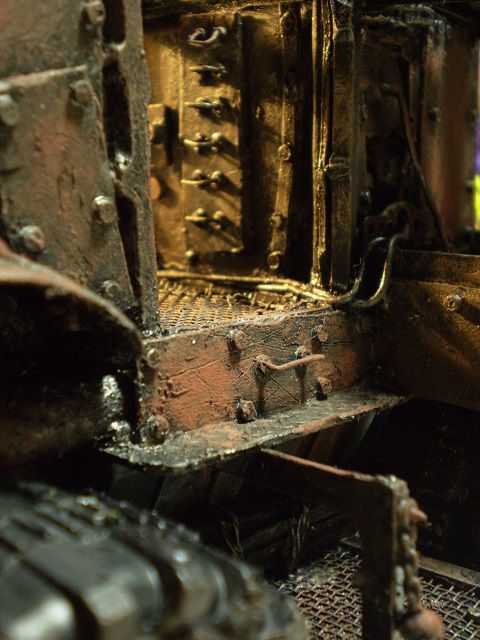
All the handles were made from really small sections of paperclip bent into the correct shape.

The hatch to the drivers cab is made from a first edition rhino door mounted on a 30mm lipped base.


The exhausts on the back are sections of a £1 set of plastic construction toys that I'm starting to run out of which work perfectly in rusty post apocalyptic situations.

The cab grating is the left over plasticard from all the rivet creation.

I should hopefully get some more colour slapped on the vehicle over the weekend providing I don't start some more projects or get distracted by any bright lights or loud noises.