Total Pageviews

Showing posts with label sci-fi. Show all posts

Friday, 4 January 2013

Happy New Year and Christmas loot!

It's been awhile since my last update so hopefully this large update will keep you all sweet and make up for the delay between posts.
I hope you all had a great Christmas and new year and Santa brought you all wonderful gifts and much food and beverages were consumed by you all.

In the spirit of new years resolutions, spring cleaning and all that guff I tidied up my work area ready for 2013 and also managed to nab some 'paint racks' whilst Christmas shopping:


My paint racks are in fact cutlery trays from Clas Olson, that fit my needs perfectly:
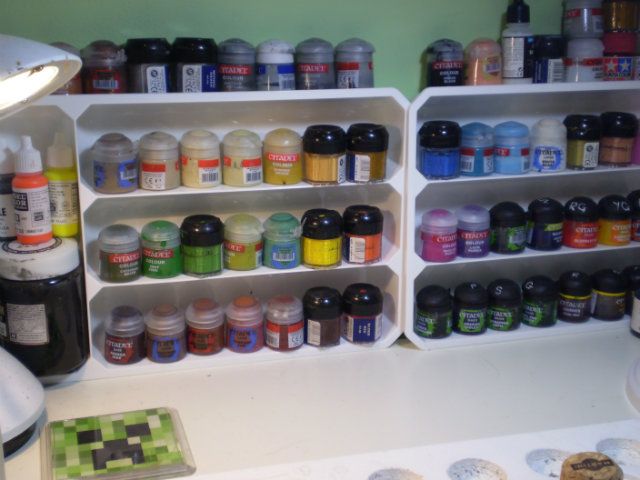
http://www.clasohlson.com/uk/Reda-Cutlery-Tray/Pr349666001

In the couple of days since taking these pictures it looks like my desk has been hit by some kind of explosive devise but generally that's a good indicator of progress.

Just before the Christmas frivolities began I managed to finish a couple of figures that have been sat half finished on my desk for awhile:


First up we have a pre-slotta citadel Dwarf farmer  that I can't seem to find catalogued anywhere. I tried to keep the colour scheme ruddy and earthy and went for a really dark skin-tone on his face which took forever as it was never quite right. The straw in his mouth is a tiny piece of off-cutting from a door mat dipped in varnish applied with tweezers and held steady until it set.

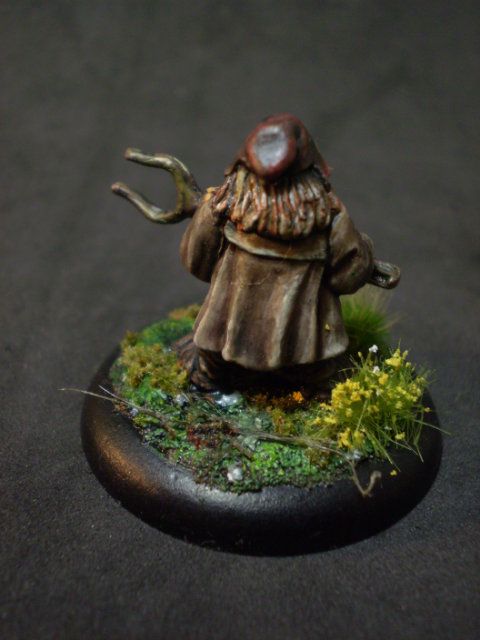
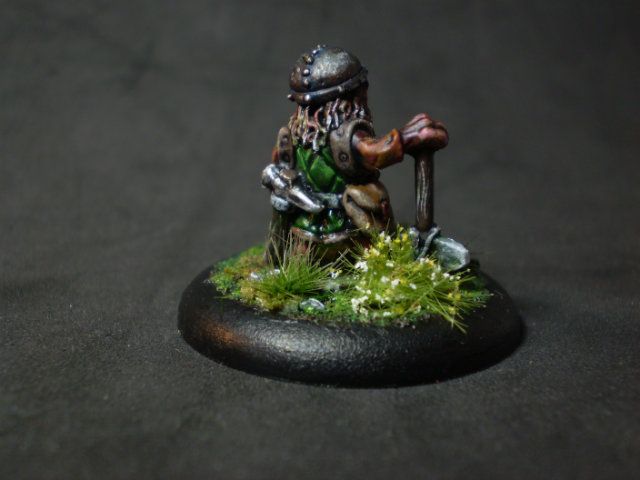
Next up we have one of the early Citadel Gnomes:

Again I went for a more ruddy red skin tone rather than a more pink human tone.

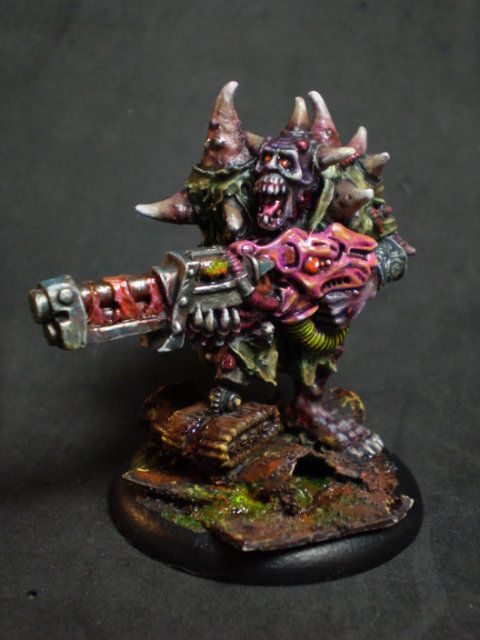
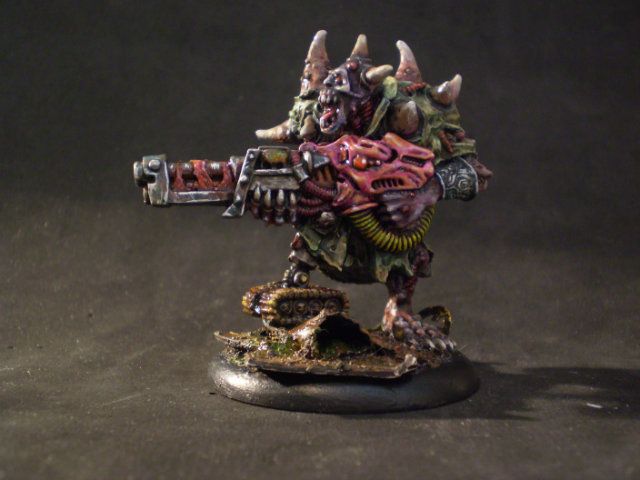
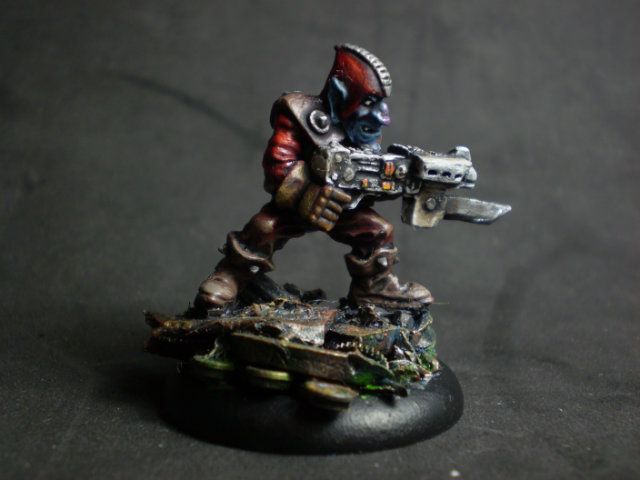
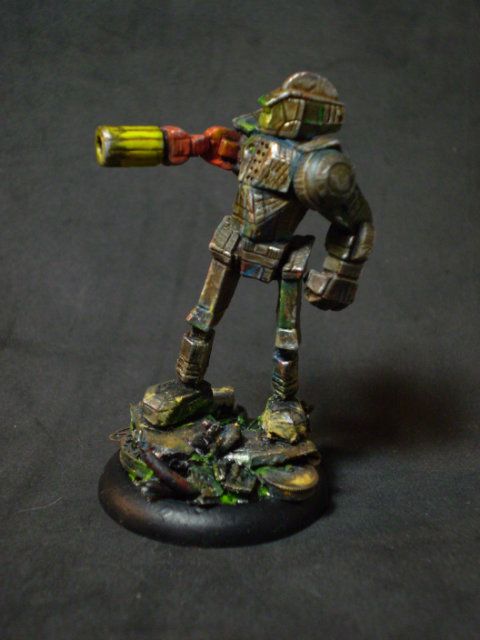
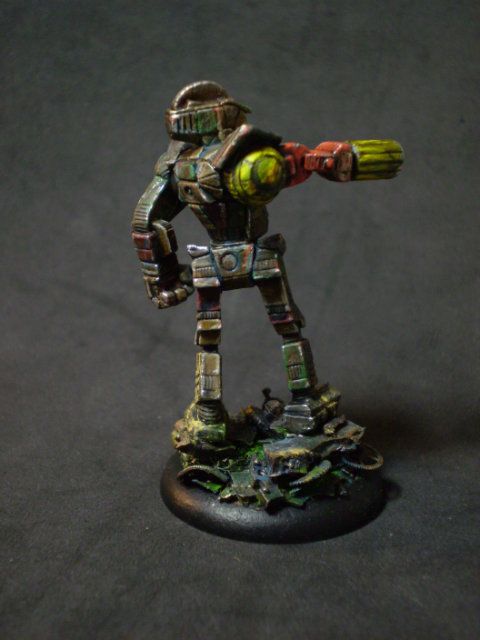
That's all for now on the Fantasy front, Next up we have a couple more of the Sci-fi mini's.
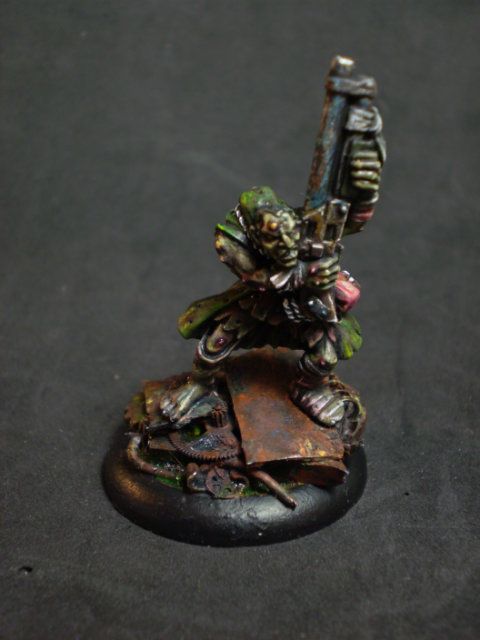
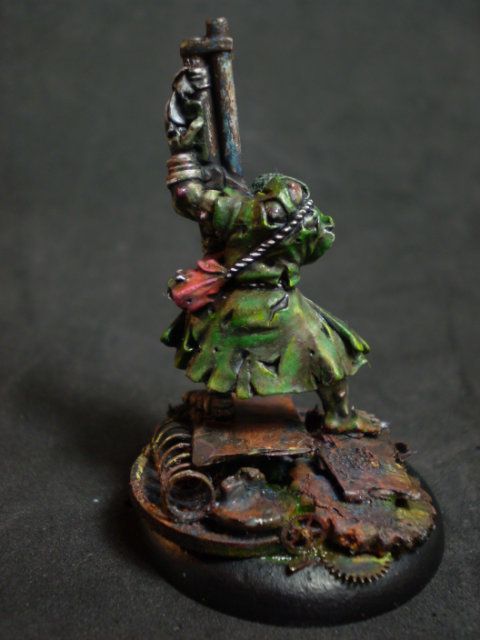
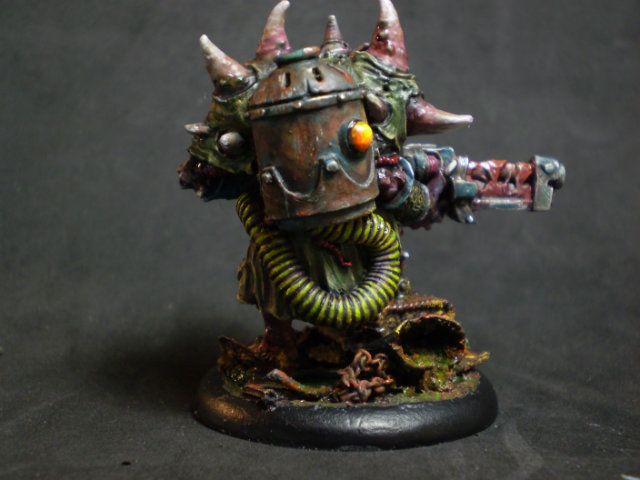
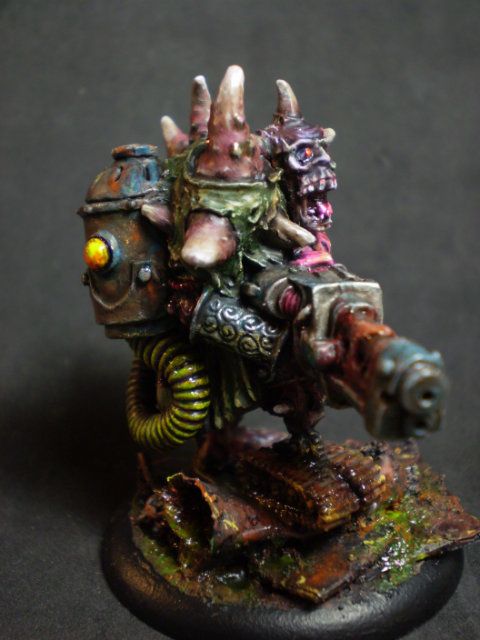
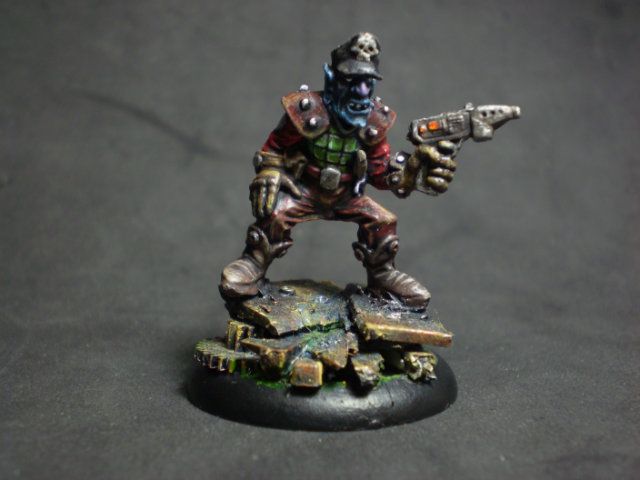
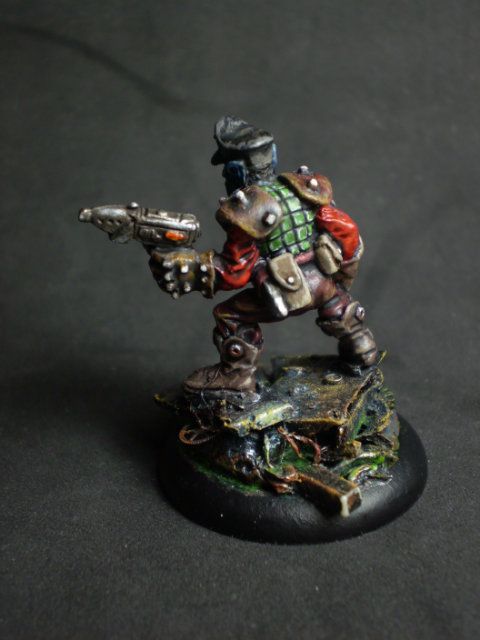
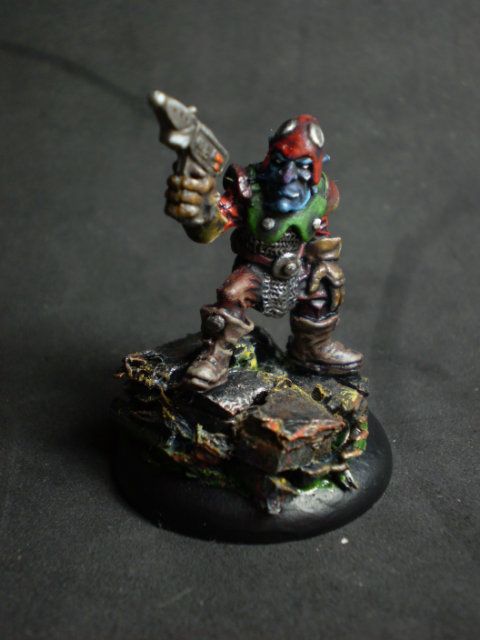
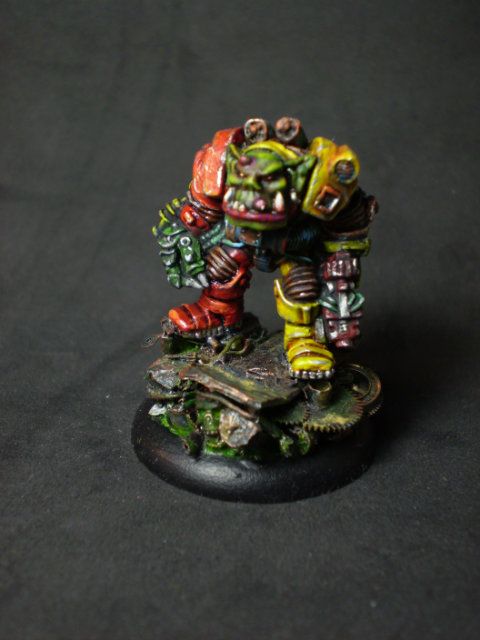
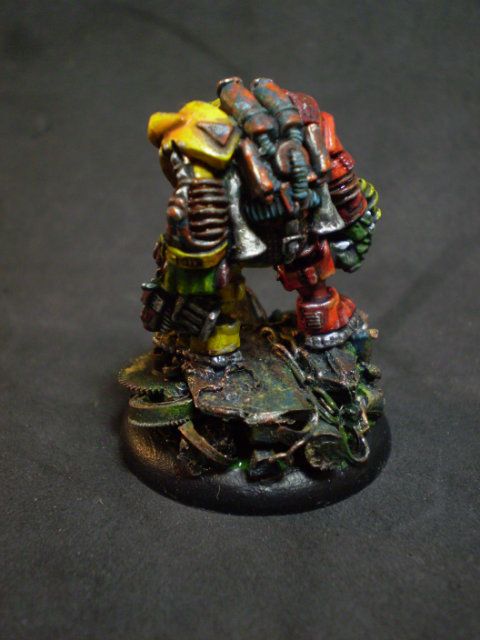
First up we have Gordal Luggub form the Rogue Trader Space Ork command Group, check out Orlygg's Slowburn Rogue Trader blog for some pics of the whole range:
http://warhammer40000roguetrader.blogspot.co.uk/


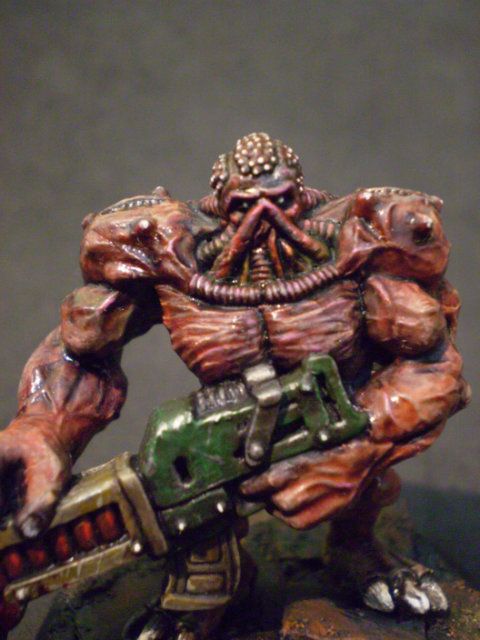
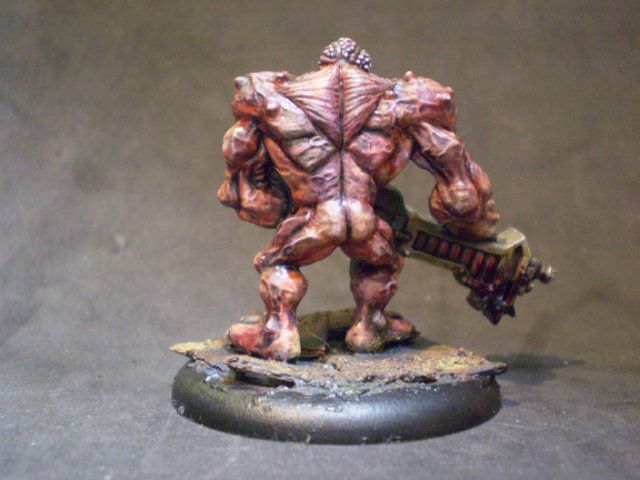
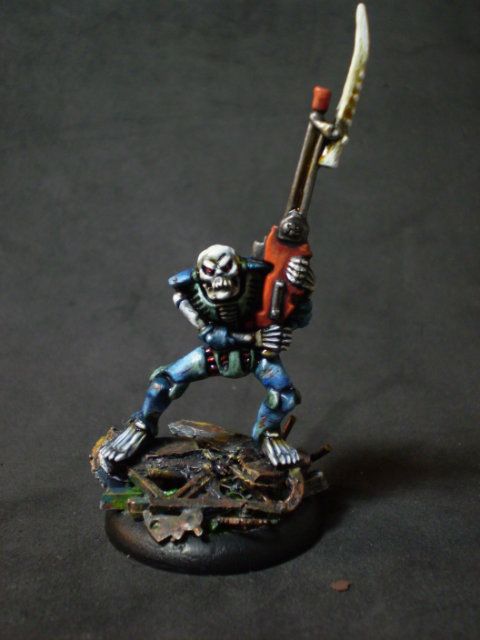
Next up we have an early necron from the Space Crusade boxset:

Lastly on the sci-fi front I finally painted up an ancient Ral Partha Battletech Centurian that was one of the first mini's that I ever owned.

He's currently serving as a battered much repaired combat robot rather than a huge hulking mech.

Now to the Christmas loot, my brother gave me a ton of his old mini's that he'd dug out of storage which is Fantastic and will keep me going long into the future, so mega cheers if you're reading this Owen!
I'm going to spread the pics over the next couple of updates as there's a ton and my blog may end up being a little pic heavy on the unpainted lead side of things and I'd like to keep it colourful and not bore you all with pics of unpainted lead.

Grenadier deep ones

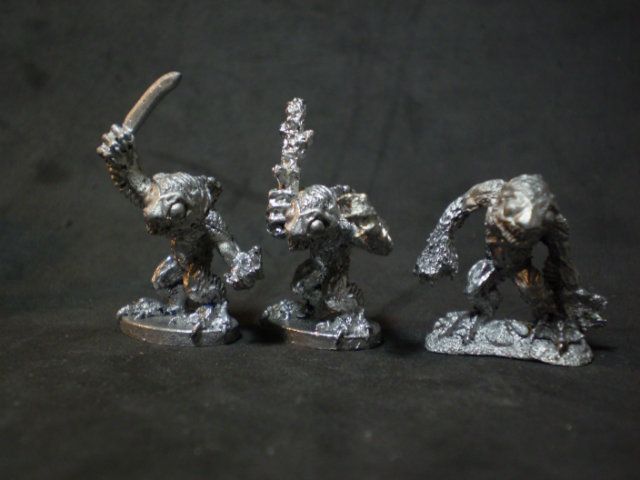
TSR Sahuagin's, these came without any weapons so I'll be sorting out my own weapons.

More TSR mini's again, Thri kreen, looks like I'll be making an insect based war-band at some point in the future then.

 I also received from my sister a box of the GW Goblin Hobbit mini's which I think are awesome and could work in tons of settings, I'm internally debating whether to 'sci-fi' up half the box with guns etc and keep the rest 'Fantasy' or keep them as intended?


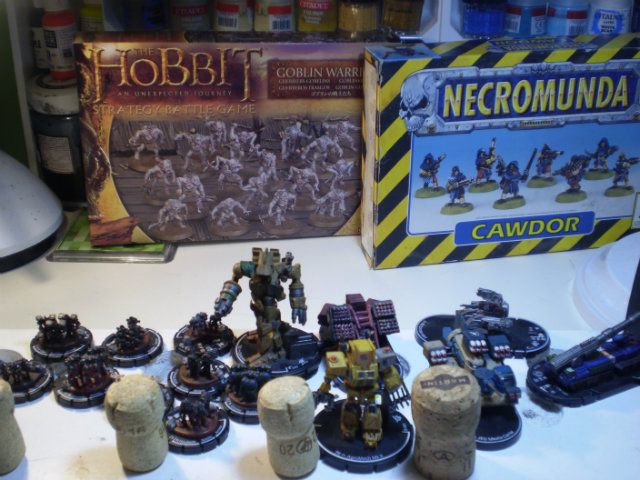
Also as part of the mega bundle from my brother was a whole Necromunda Cawdor gang and some Battletech Hero clix stuff that should come in handy for the Sci-fi stuff I'm putting together.

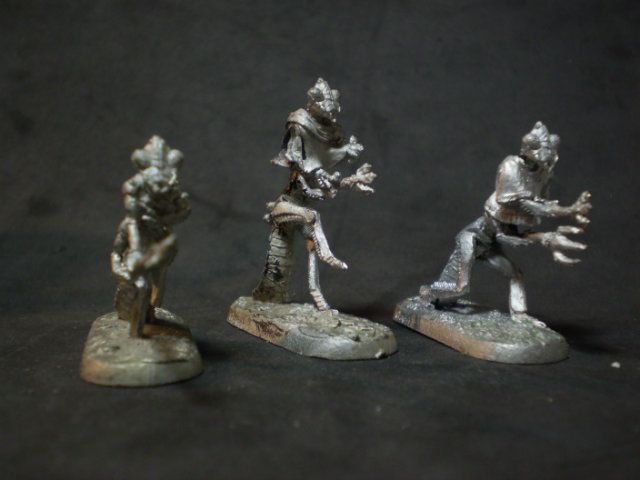
Next up on the painting table, hopefully with some better WIP shots and a Sunday update is the start of a fishman/aquatic Warband using the Christmas deep ones and Sahuagin and some other suitably fishy mini's I've dug out from the pile.

Also lastly a big welcome to my two new followers!!

Monday, 10 December 2012

Underhive Scum and my 90th follower!

Firstly I'd like to welcome my 90th follower Jessica from the Neon Pink Apokalypse blog, check out her awesome pikachu inspired grots.
http://neonpinkapokalypse.blogspot.co.uk/

Finally finished a couple more mini's at the weekend to go with the small 40k sci-fi group I've got going on. Both of these figures have been half started for a couple of weeks now and I just couldn't bring myself to finish them for some reason but this weekend my muse struck and I powered through. I've no idea when or if I'll ever play anything with any of these figures but they were both a fun diversion from my usual Fantasy fare.

First up we have a Necromunda Skavvy.


Next up we have the Warzone Dark Legion Nepharite of Demnogonis Figure, he's one chunky hefty piece of lead and was fairly difficult to paint as I kept dropping him :)


I'm really pleased with how he turned out, especially the weird fleshy part of his gun.
Here he is next to the skavvy so you can get an idea of the scale:


Hopefully towards the end of the week I should have something amazing to show you all, something that I never thought I would hold in my hand, something long coveted... Cryptic I know

Thursday, 29 November 2012

A Few painted mini's

Managed to finish a couple of more of the alternative armies and mutant chronicles mini's:

First up is the Mutant Chronicles Razide figure, who was great to paint, he was mostly various washes and glazes over a flesh base built up in layers with a tiny bit of highlighting at the end.


A fantastic chunky sculpt (that's a 40mm base) that would work well for a ton of systems.

Next up we have a couple of Alternative Armies Khanate Empire troops:


Again lovely Bob Olley Space Goblin sculpts that I decided on a blue skin tone for as I've done green goblinoids and why shouldn't space goblins be blue. Not really done much else mini wise these last couple of weeks as I'm feeling a little un-inspired but hopefully things will pick up over the weekend and things will seem a little brighter :)

Wednesday, 7 November 2012

Finished Squad of Bob Olley Marines

Finally finished the Squad of Bob Olley Marines:


I went for a bright colour scheme as I was a little sick of painting earthy browns, greens and human flesh so I tried to keep it bright and simple but still give the suits of armour a lived in worn feel without compromising on the brightness.

Here's some detail shots (as always click for larger)


This week I've also finished off an old Space Hulk genestealer as a test run for a possible colour scheme for the others that I've nabbed off ebay. To be honest though I'm not sure if I'll be able to recreate the finish as I just kept slapping on washes and glazes until it looked right.


Topping up on futuristic mini's has meant that I've broken my self imposed ebay ban and started adding a few more mini's to my sci-fi pile that'll post about separately later in the week. 
Also this week Aggro84 on the lead Adventure forums posted up a series of amazing pics taken from the Tears of Isstvan blog http://isstvan.blogspot.fi/2012/10/yggdrassiliumme-pilgrimage-part-1.html 
that are seriously making me want to put together a John Blanche inspired 28mm Inquisition warband, and and some filthy rusting terrain something with slime, skulls and pipes all over the place.
Some other amazing inquisition/Necromunda (I-munda to those in the know) stuff I've been eye-drooling over are the amazing mini's over on the Spiky Rat Pack Blog: http://spikyratpack.blogspot.com.au/ honestly if you're not already familiar with these sites go and check them out as some of the things these guys are coming up with are amazing.

Must. resist. starting. a new project.... too late I've just bought some 28mm scale mesh. Bugger

Friday, 2 November 2012

First Finished 'Marine' in Space and a Quick Tutorial

I managed to finish one of the Alternative Armies Bob Olley Not space marines this week. There's a few things I'll tweak on the next ones I paint up and I'll probably not be as heavy handed on the rust/wear on the armour but overall I'm pretty happy with the finished paint job:


As a couple of people asked in the comments of the previous posts I've put together a tutorial for the rusty bases so here you go.
Most of what I learned about putting together interesting bases came from reading through the amazing tutorials and looking at the amazing eye candy on the Massive Voodoo blog so I can't take full credit for the results so after you've had a look at my quick tutorial go give their blog a gander as it'll inpire you.

Step 1: Picking your scrap

Have a dig through your bits box for some random scrap, anything will do as once it's all painted up it looks suitably metallic and industrial. I tend to keep a tub of all my base off cuts as these work really well as rusted through sheet metal so try to keep hold of any integral bases that you've removed or any broken slottas.


 If you're planning on doing quite a few of these bases make sure you've got a good surplus of bits and pieces that you can bring to the base, old watches, old electronics pieces of model kits, sprue, flashing old green stuff it's all good.

Step 2: Covering your fingers in glue


There's no right way to put these bases together so just slap some of your pieces onto the bases and start building up layers. I've tried to build the bases up in two layers the first being piping wiring etc the kind of stuff you'd have running underneath the main floor in some kind of space-hulk.


Once you've got your under floor area sorted try and pick out a couple of flat pieces for your crumbling flooring, this also helps as it'll give you a relatively flat area to pin your mini's feet.


Before I glued the main flat area to the piping I scuffed up the surface with one of my files to give it a bit more texture. After the flat areas are glued down you can start filling any voids and spaces underneath with cogs, wires and any other small bits of scrap you have lying around. I added more extra texture to the flat areas by sprinkling filings from my desk top into some super-glue liberally spread all over the place.


Once this is all dry you should be able to pin your mini to the scrap heap.

STEP 3: Painting


Once you've under-coated your base black give it dry brush with a couple of different silvers.


Once your silver is dry, dry-brush up from dark bronze to light, next take your orange paint and slap some on randomly on the edges and in patches to simulate rust.

Next take your verdigris colour paint and water it down into a wash and slap some on in random patches for some extra colour.
For the next stage I used some Vallejo Pigment to simulate crusty rust you can probably get the same effect with a lighter orange paint. Take an old brush and gather some up directly from the pot and lightly dust your base, you may want to have a few practise goes on something until you get a 'feel' for the powder.

For the last stage I took a fluorescent Yellow Vallejo paint and painted in all the deep recesses and edges of the base to simulate radioactive glowing slime. Lastly I slapped a little bit of gloss varnish on the pools of 'liquid'. There you go one slimy rusty pile of scrap base all it need now is the edge neatening up and you're done.