Total Pageviews

Showing posts with label Scenery. Show all posts

Wednesday, 27 June 2012

CHRISTMAS CAME EARLY

Today was a good day, a very good day, I received a hefty box of goods from Germany purchased from 'Cherno' on the Lead adventure forums, this lot will keep me going for eons:
 
Various resin pieces, mushrooms, tavern, bookcase etc
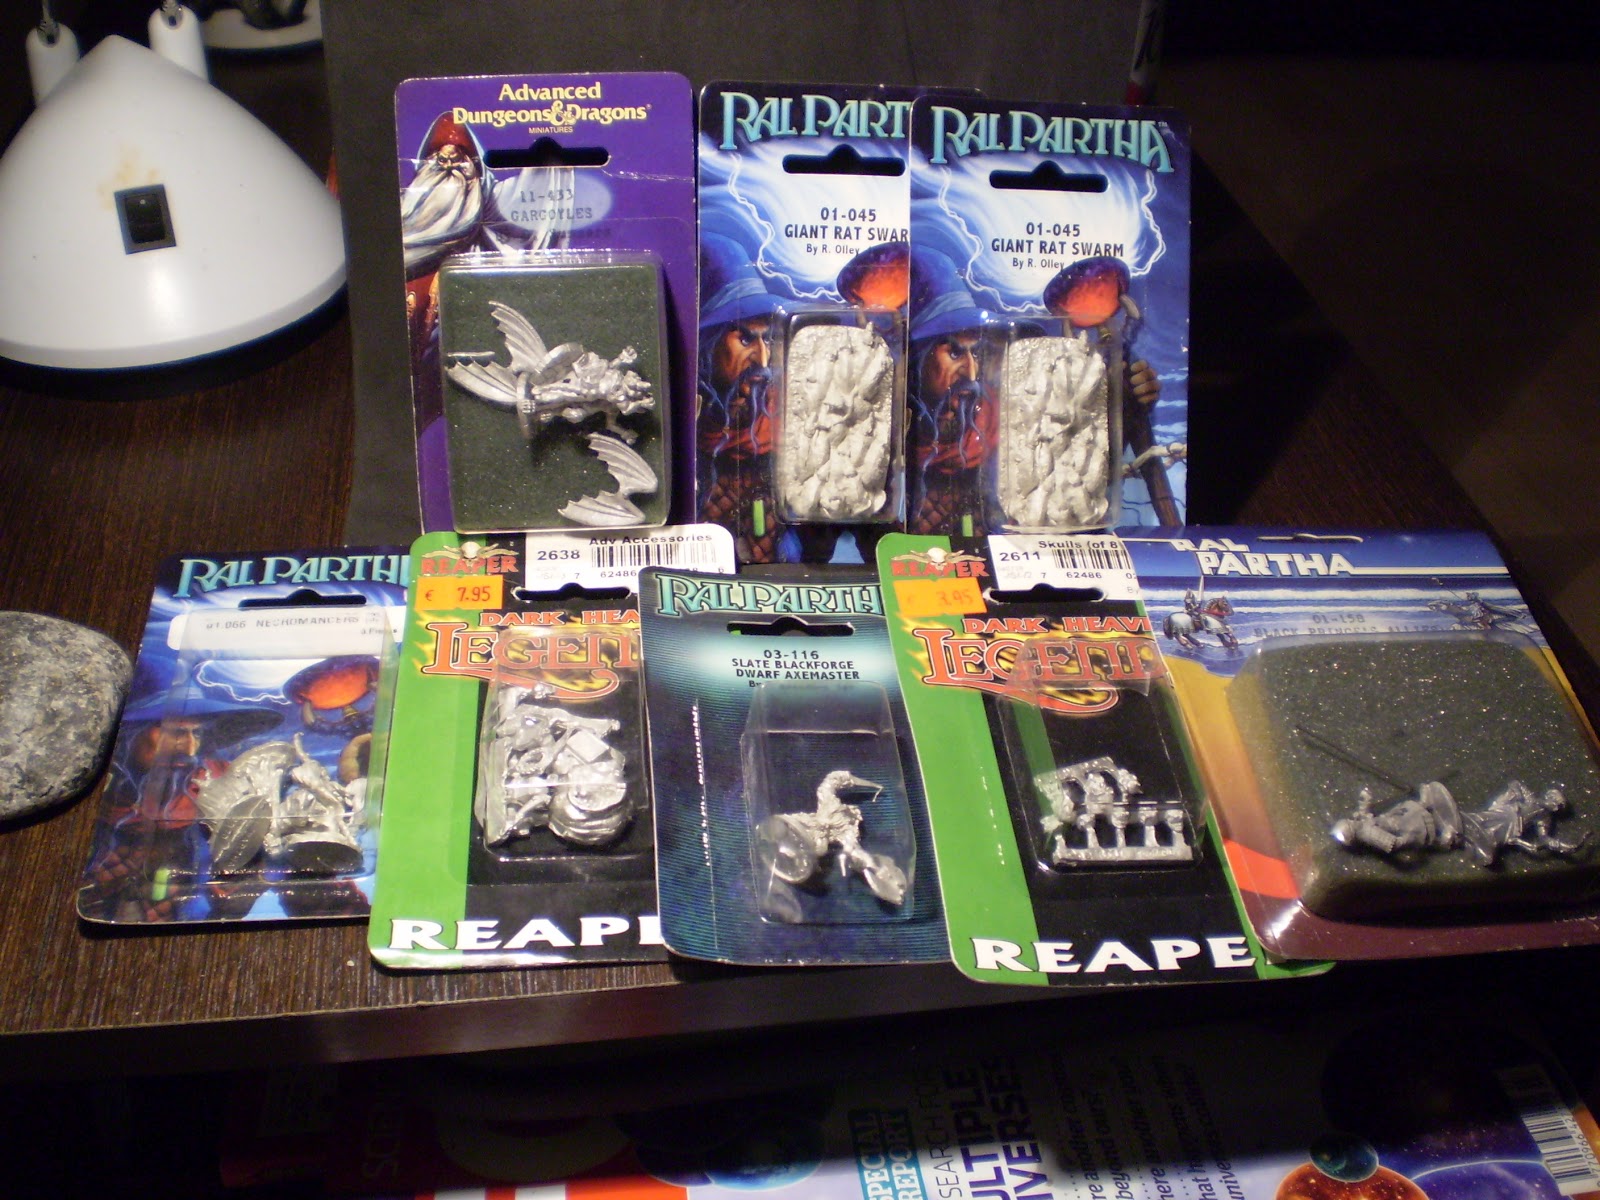
AD&D Gargoyles, ral Partha Rat Swarms etc
Fire Demon, Black Dragon, Chimera etc
Blood Troll, various Wraiths, Xorn, worm corpse thing
Various Mages, a bed, a thief, I think these are all Ral Partha
Bar Staff and some fighters
Various Fighters and robed people
Some Undead and a little gargoyle thing
More Fighters
Ilithid and some unknown creatures. 
Confrontation Ogre wearing an elephant head as a hat and Rogon The Balrog Dragon.

You may be asking how I was able to afford all this as I still have all my kidneys, but this huge haul was only £37, I have no idea what I'll do with most of it but I'm all set for lead for awhile :)

On a less cheery note, please can someone have a look a the two pics below and let me know if the blotching in the two images is the dreaded lead rot (you can click the images for larger views).
I've never really seen the dreaded rot in person so I'm not sure and any advice would be much appreciated. It only seems to be affecting the the main body of Rogon and not the other parts of the kit. I gave the affected areas a scrub with a copper brush and it seems to have removed whatever it was and brought up the model in a nice shine.

Anyway moving on from the doom and gloom, I finished of a couple more old school orcs:

Also here's a little sneak peek at what I've been making this week, the start of a petrified forest/lookout tower.
Hopefully should have some more progress to show you towards the end of the week.

Thursday, 23 February 2012

MASSIVE SKULLS

Just a quick post, if you need any huge skulls for scenery get down to your newsagent or tesco's and grab a copy of this:


Its one of those magazines where the first issue is dirt cheap whereas any subsequent issue is nearly £6 but for only 99p for the first issue you can't go wrong with a massive skull. It's missing the top of its skull but whack on a tiled roof instead, fire some windows in the eyes and BAM! necromancers house. You're welcome

I BUILT A HOUSE!!

Sorry to my 10 followers for the lack of updates recently boring stuff like work and a cold got in the way.

Anyway I got a bit distracted from painting figures and decided to make a building, I was partly inspired by all the great stuff I keep seeing on other peoples blogs and various forums. Before I go on have a quick look at some of the things these awesome people are doing and if you come away with no inspiration after looking at some of these links there's something wrong with you.

First up is Dampf's fantastic blog and his terrain articles on Baking Irons that includes some amazing step by steps on creating all kinds of terrain pieces.

http://dampfpanzerwagon.blogspot.com/search/label/Tutorial
http://www.barkingirons.co.uk/j/game-systems/flintloque/terrain

There's some amazing things going on in the boring Mordheim forum terrain section and it's worth a look even though some of the projects make me hugely jealous
http://boringmordheimforum.forumieren.com/f4-scenery-and-terrain

Again this is a Mordheim project that someone is putting together that looks amazing.
http://www.lead-adventure.de/index.php?topic=30667.0

Lastly this is the pinnacle of  model making some of the things on here are astounding, the sites in German but is pretty easy to navigate, check out the Mortheim table (second link) words cannot describe it's wondrousness.
http://gidian-gelaende.de/03c19899280940b01/03c19899c4139102b/03c198995a14eed01/index.php
http://gidian-gelaende.de/Material_HP/Wolfgang/Mortheim/album/index.html

Enough of other peoples stuff here's my second attempt at a house (the first being a wooden shack I built about 10 years ago):


Front shot with old citadel pre-slotta druid for scale, I wasn't sure if the door was too small as he looks a little too big with his base but without I think it's not to bad.
Tip on making tiles rather than cut out millions of individual tiles do it in strips like so:
Just make sure that you cut off the strips slightly wider than you want the tiles so that the next layer has something to stick to.
Once you've cut off your strips just trim off the ends (grey area) to make the tiles less uniform and there you are roof tiles.

Closer shot of the front door, I've since added a little more detail in the form a door handle and tweaked the hanging sign.
Ignore the power axe, the chimney is made from polystyrene coated in an air drying clay called DAS which I also used on the walls to give them some texture. I've since added a split log wood pile next to the chimney and will add an axe nearer to completion.
Here's the back garden with corrugated card garden plot. I'm going to add a lot more detail after I've painted the house (hanging herbs, barrels, plants etc) I've got my eye on some miniature plants for the plot of land.

Let me know what you think it needs for finishing touches and I'll see what I can do about incorporating them.

Cheers


Sunday, 5 February 2012

POUND-LAND EXTRAVAGANZA!


I decided to have a mooch around the pound-shops yesterday and saw these bags of house construction toys that looked promising


For £1 I thought it was worth a go as it could probably be easily turned into some cheap scenery.
It can by the way:
All I did was take six sections of the 'brick' pieces and cut off the unused connection pegs at the top and bottom, I then used these to fill in the spaces at the left and right ends of the wall section and then glued the two sides together (3 pieces for front and 3 for back). The tiles on the top of the wall is a piece of card that I scored and rounded using the end of a paint brush. Once that was all glued together it was a case of dry brushing up through the greys to get the stone effect, overall I think it came out pretty good. 
If you're buying these it may be worth having a quick look at the different bags as I bought two and one the bags doesn't really have many of the solid brick wall sections compared to the other pieces. 

The 'OK' window could easily trimmed into a small doorway or window and you could quite easily use the brick sections for flooring.
Whilst in the pound shop I also picked up a bag of insect toys:

I'm attempting to make an undead war-band for skirmish based games and the 'giant' maggots are a welcome edition. Also in the pack are millipedes, flies, spiders, cockroaches, scorpions and ants, the smaller insects look pretty well sculpted and are made of a harder less flexible plastic and will look pretty good when painted up whereas the millipedes, scorpions etc are made of a more rubbery plastic that I don't think will take paint. On opening the pack I found that the maggots are made of that always sticky type of material which is a pain in the arse to handle. After lots of swearing I managed to eventually get them to stick to a base and not my fingers. To get them to 'set' and make them paintable I gave them a brush with super-glue from one of those tubes with an attached brush which seems to have made them relatively solid. 
Let me know what you think:


Once I get some more bases I may give the ants a go and painted up like Fire ants they should look pretty good.