As a couple of people were asking how I do my mossy ruins in the last post I've created a quick tutorial so you can all give it a go:
First up grab your materials:
For this I'm using the left over scraps of packing foam that I had from builds in the last post and a scrap of self adhesive floor tile that I'll be using as the base. You can pick up packs of these floor tiles from most pound shops with various finishes. There's also no reason why you can't use other materials for the ruins (card, polystyrene etc) this is just what I had to hand.
Cut your sections of foam up into suitably sized pieces making sure to carve up the edges and corners for an uneven finish. Now stack/glue them up however you want, I used cheap craft PVA (White glue) and for extra security pushed some cocktail sticks through the centre of the stack for extra stability. Make sure you leave this to set overnight possibly even longer depending on your glue.

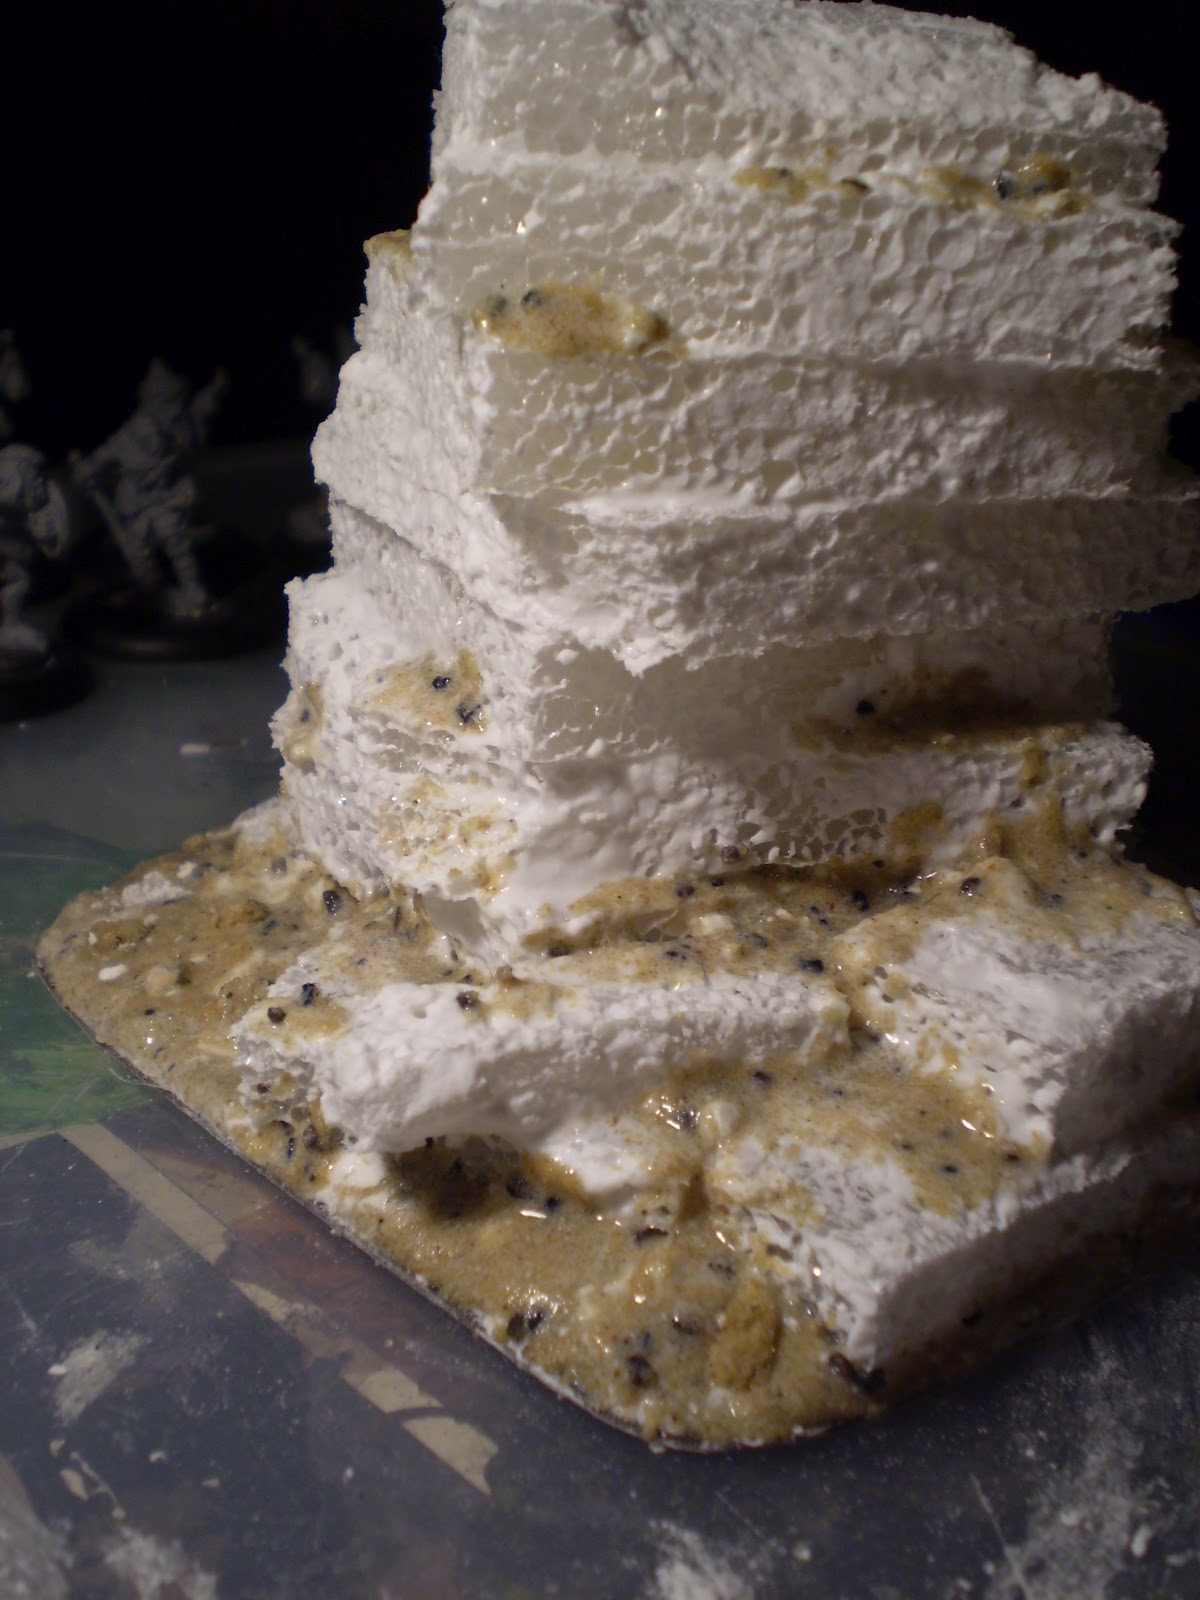
For the next step take a tube of ready mixed filler or any other Poly filla (Spackle) type substance and slap it on randomly to your pile of foam. I didn't notice until I'd already started slapping on the filler that I had I used a different type of filler to my previous builds, on this build I seem to have used an ultra-fine type filler that was a little crumbly once dry. On the previous pieces in the previous post I think I've used a filler that dries to a more rubbery finish that has a little give which in the long run should stop any chipping or cracking. Without the aid of time travel I can't tell you which of these will last the longest but in my head the more rubbery of the two should.
Slap the filler over your pile of foam, don't worry about covering the whole thing just try to end up with a 'random' finish. If you're using a less textured material you may want to add some sand to your filler.
Next add your ground cover, mine is the same mix of Sand, pebbles, railway ballast and desk scrapings mixed with PVA into a kind of basing porridge. It's the same stuff that I use to base all my mini's which I keep in an airtight Tupperware that stops it setting (sort of).
I seem to have missed a photo for this step but after everything is dry base coat your stack in black for anything that's stone and brown for your grassy areas, I use these acrylic paints:
http://www.theworks.co.uk/Acrylic-Paint---Black/5052089003170.html
but any craft paint will do.
Once your base coat is dry, highlight the rocky areas up through your greys to a light dry brushing of white.
I just used what I had to hand which was Codex Grey, Fortress Grey and White Scar.
Once your stone work is dry take some washes (I use green, sepia and black) and start added patches to break up the grey stone, again don't worry about how the ink goes on just slap it on.
Next you can finish of the grass base by highlighting up through the green's to yellow on the areas that you under-coated brown.
Next up is the part that really makes the ruins look realistic. For the moss and leaf litter I use a mixture of two different Gale Force 9 scatters, (SPRING UNDERGROWTH GF9010 and I think Dark Conifer Flock Blend GF9011) I also use a home made flock of crushed up popuri dyed using inks to simulate dead leaves (in the top of the top picture), lastly are some off cuttings from a doormat.
Firstly take your brown dead looking flock and mix it with some matt varnish until you get a sort of clumpy mess. Don't worry about the colour, the varnish gives everything a blueish tinge when wet but dries clear.
Now start pasting your flock onto your ruin using a coffee stirrer, try to stick to edges or anywhere that you could see leaves fall settle and pile up.
Next mix up your green moss flock in a similar fashion to the previous step and start piling it on in any cracks or crevices.
I add a few little bits of the home-made leaf litter to give it a little more texture and for the final touch I add a few bits of the door-matt with some tweezers and a tiny bit of super glue:
So there you go, give it a shot and let me know how you get on and let me know if there's anything missing from the tutorial or if there are any crazy spelling mistakes.


Great Tutorial Thanks. I will have a go.
ReplyDeleteWicked!
ReplyDeleteIt's amazing at what can be achieved with so little materials! Excellent tutorial :)
ReplyDeleteCheers - most useful :)
ReplyDelete